My top tips and tools for pumping

When I started pumping for Jasiel it was more out of necessity. But as I continued on pumping I did the research and realized that there’s a science behind it. Just writing this all down before I forget, and perhaps if you’re thinking of pumping exclusively you can benefit from this post.
Pumping Exclusively is a Commitment
Breastfeeding directly is hard, and is also a commitment but also a cooperative between you and baby. Pumping takes away a bit of that cooperation once baby is used to the bottle, but pumping also has its challenges, and in some ways, it is even more work and time. Not only do you have to pump the milk, but you also will have to feed the baby the milk, store the milk, wash the parts, dry the parts, replace the parts, etc. And with pumping, you directly see how much you produce, so you can see if your supply is dropping or increasing, and you’ll have to work on maintaining the supply for your baby. It can be pretty stressful if you’re underproducing, or a just enougher. If you’re a pumper, you can also experience clogs, mastitis, and all those pains that breastfeeding moms experience, except at least you can deal with your equipment and no one will bite your nipples. That’s why I don’t think it’s for everyone. I definitely recommend pumping exclusively if you have the support around you, like your hubby for example. If you’re the primary caretaker of your baby, with no one else around, you’ll need to invest in a secondary, more portable pump so that you can pump while holding the baby, etc.
It’s okay to combo-feed.
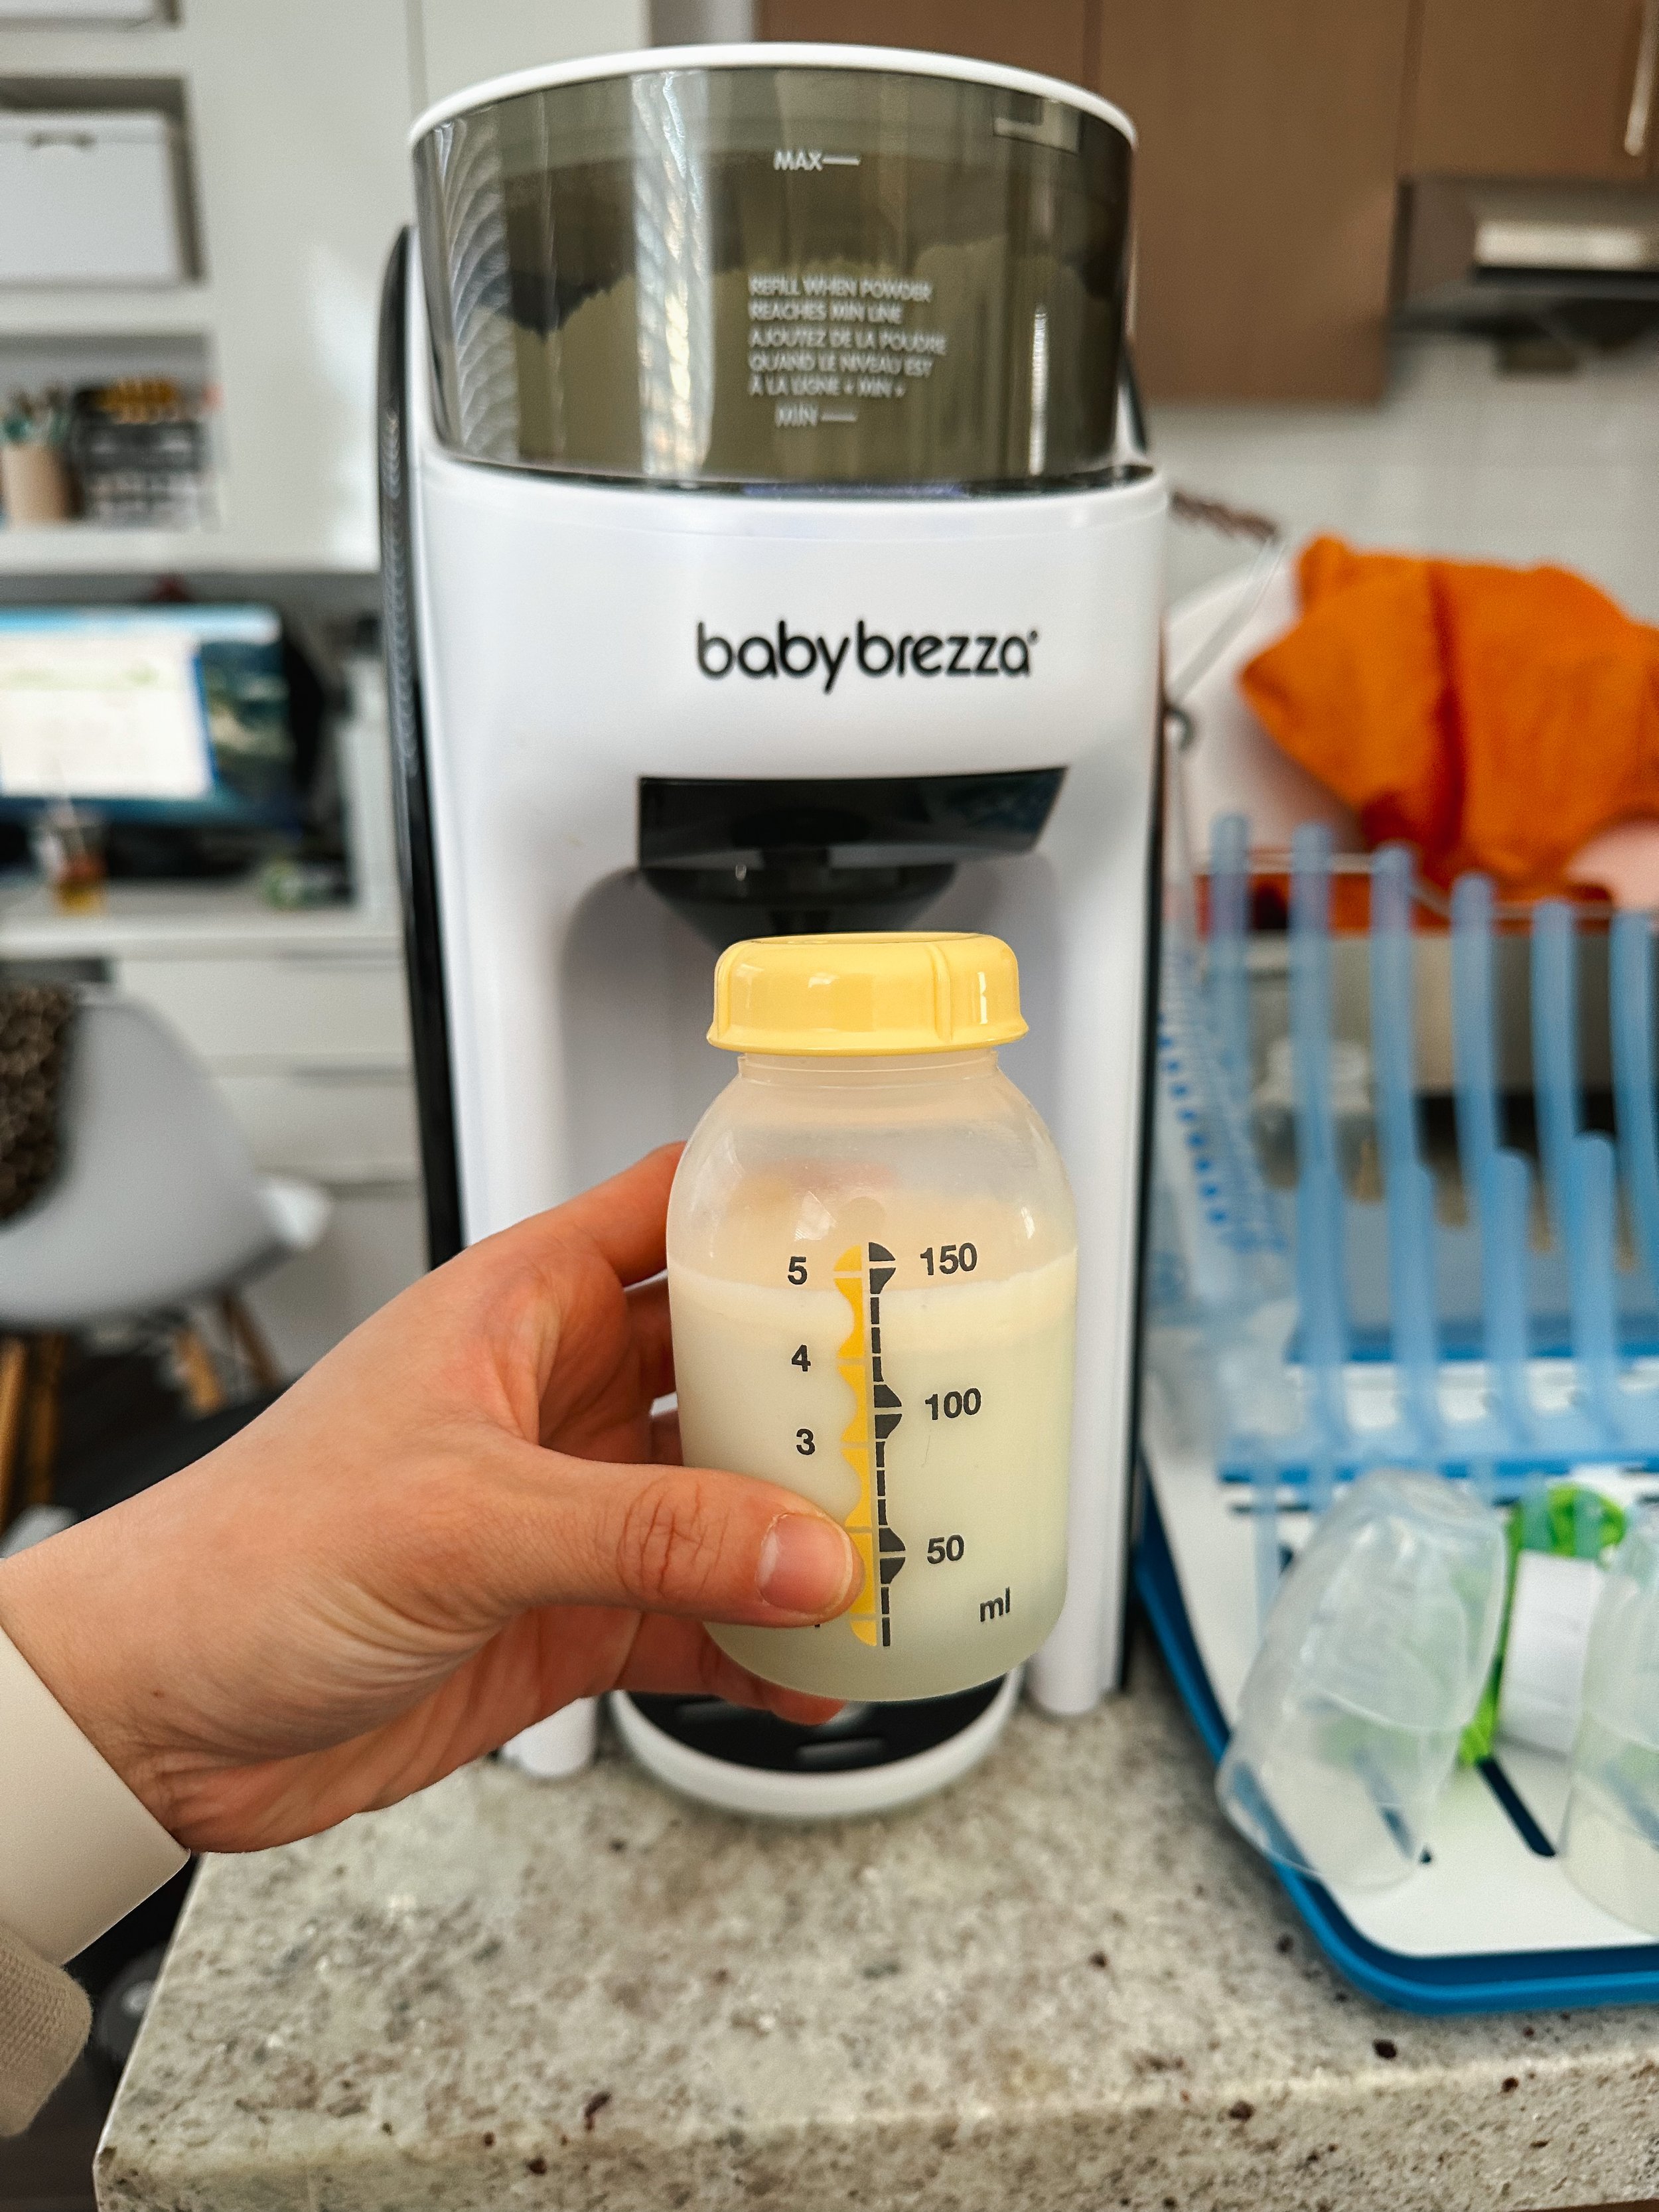
When I embarked on this journey, I was also open to the fact that I can supplement with formula if needed, there’s really no shame in that. In fact, because I didn’t know how long I would pump for, I let her have a bottle here and there so that she’s used to the taste, and I could freeze the extra supply that she didn’t drink. I’ll be sharing tips on how to maintain and increase supply, but sleep, stress, mental state, health, all contribute to supply, so the more stressed you are about the quantity you’re producing, the less milk you’ll produce. So, there’s no need to add additional pressure on our already heavy laden shoulders, right? If baby is screaming for milk, it’s absolutely okay to give him/her formula if you don’t have your breastmilk ready or available. For formula, you can use the ready-to-feed bottles or you can get the Baby Brezza machine - we used it with Chase, and am so glad we have it cause it makes formula making so easy.
tools/equipment
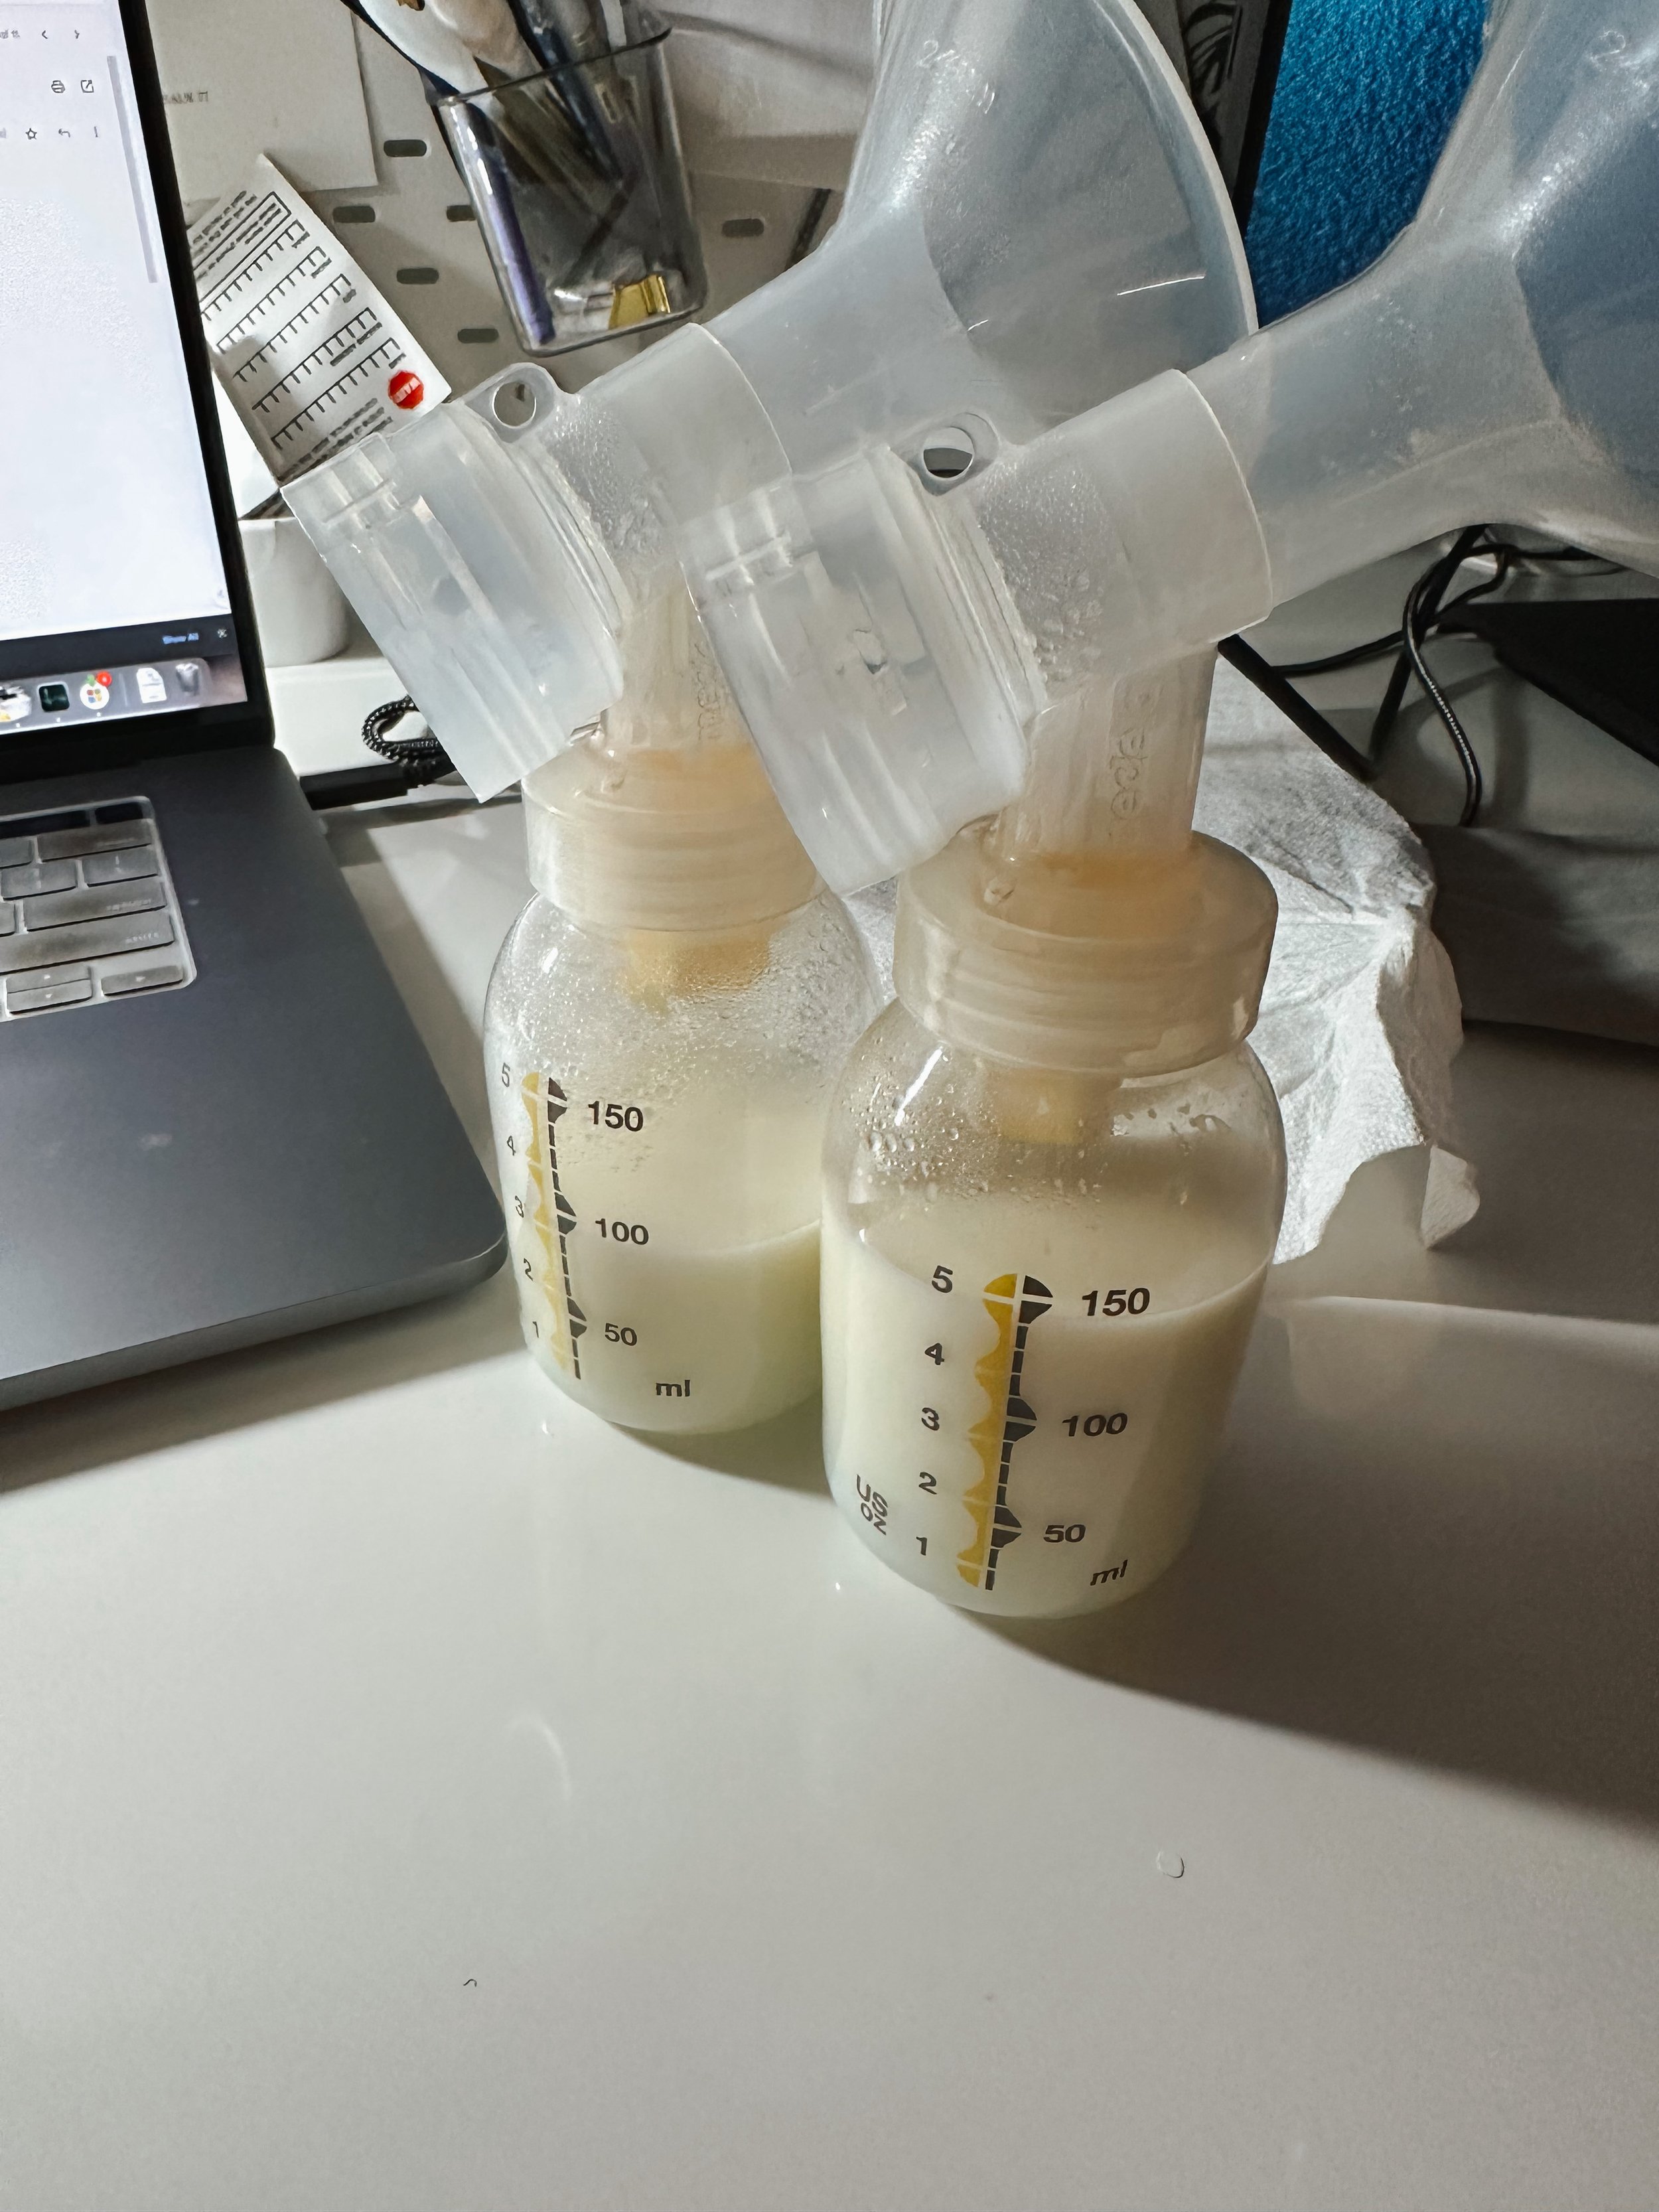
Main Pump aka “Wall Pump” - I used the Medela Instyle because my sister used it less than 10 times in her breastfeeding journey. I also used this exact pump when Chase was a baby, so it was familiar to me. This particular pump isn’t a closed system, but Medela now has better ones. However if I had to do it again, I would pick a Spectra. It’s available in the USA and they have amazing pump options, from the wall to portable. It’s called a wall pump because you are strapped to the wall/outlet, but it generates enough power to create the best kind of suction for pumping. They always recommend to start with this first to get your supply up, then introduce a portable pump. The downside of this is that you’re stuck to the wall, which is tough when you have other kids or you’re the only one at home and no one can watch the baby for you.
Main Pump parts x 2 - I had two sets of these pump parts so that we can wash and dry in between uses. I found that the wall pump parts aren’t as particular as portable ones, I didn’t replace them in the 7.5 months that I used them.
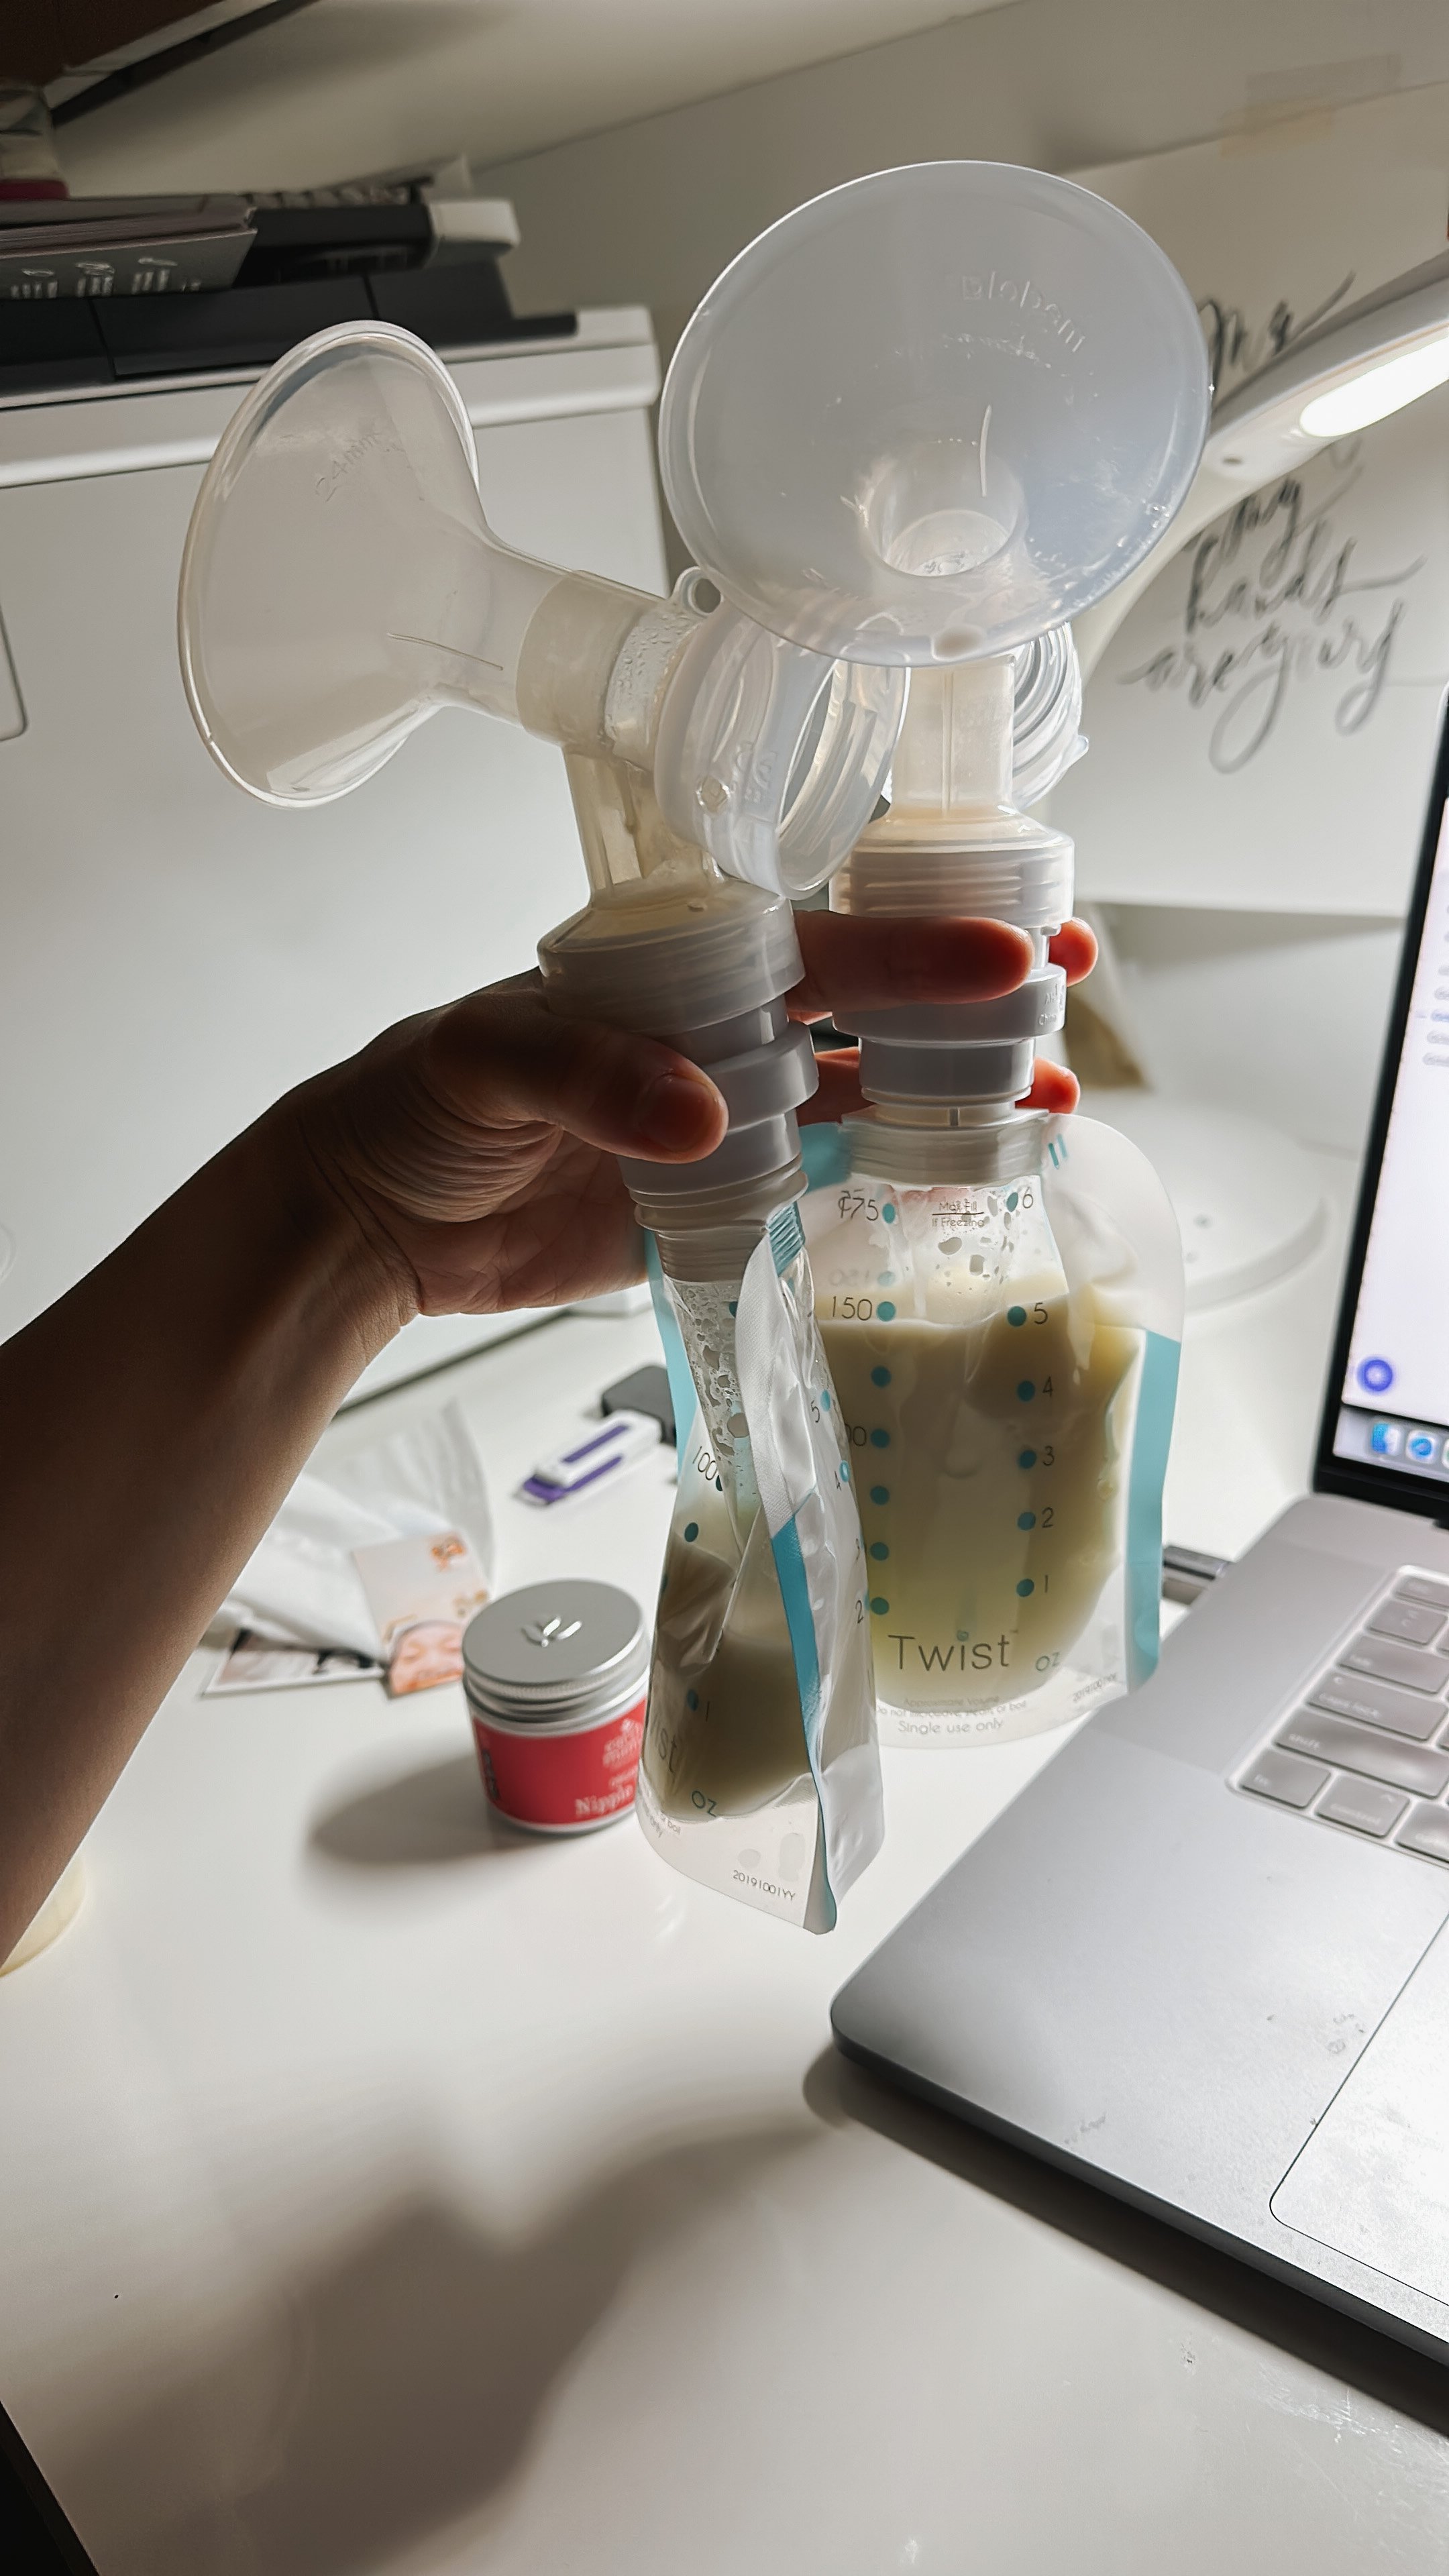
Portable Pump - I used the Elvie Stride which is apparently a hospital grade suction. With the portables, the suction style is just different. Based on the reviews I picked this one because the battery life was much better and the suction was higher than the ultra-portable ones. I liked it, but as with most portables, you will need to pump longer on it than your wall pump to get the same amount of milk. I also had to replace the parts more often with it, and made sure they were dry before putting it together. But, I loved the flexibility I had with this pump so much. I pumped everywhere - on the plane, in the car, while holding her for a nap, going for a walk, cooking, everything. I got to do life while pumping. I didn’t feel strapped to the wall. It’s not available here in Canada so I went down to Point Roberts to pick this one up.
Portable pump parts x 2 - They said that you could do a “fridge hack” by putting your parts in a ziplock bag and putting in the fridge but I didn’t ever try this.
Drying Racks x 2 - I had one for pump parts and one for the bottles. I used this one for the bottles and it was fantastic.
Earth Mama Nipple Balm - this was my pump “lubricant”. In the beginning I used this when I was breastfeeding directly, but I discovered that when you pump you also need lube so that your nipples don’t get hurt from the suction motion. So I applied this on my nips before I started pumping.
Microwavable Shoulder Warmer - Apparently heat helps with your let down, but I used this primarily because it helped me relax. I would microwave it to warm it up then I put it on my shoulder for the duration of my wall pumps, not so much my portable pumps.
Pump Inserts - I didn’t realize that pumps had so many “sizes” or that you had to hack them to optimize your pump. I did the consultation with Legendairy Milk where you send pictures and videos and they provided a comprehensive report about putting on the right inserts to make pumping comfortable. However, I must say that inserts can temporarily impact supply as your body adjusts. I think my boobs just molded to the pumps as they are (they are usually 24mm) so I didn’t bother wearing any inserts because it also meant parts to wash and replace.
Dapple Bottle Soap - breastmilk is fatty so it sticks to your bottles and pump parts a lot, so this was a great option for washing. We also just use it to wash all of her bottles because it didn’t have any fragrance.
Bottle Brush - some of the pump parts are hard to reach so aside from the Bottle Brush itself I liked that the Munchkin sponge brush had the nipple brush to clean the tough parts to clean.
Dr. Brown Bottles - we used these bottles for Chase and got just new bottles for Jasiel. It’s a lot of extra pieces, but it’s supposed to help the babies from getting gas in their tummies. That’s why the drying racks are so important so they can dry properly and you can assemble them quickly when making a bottle.
Kiinde pump bags - I love that these milk bags had a screw on top. I seriously don’t understand how moms defrost their milks from bags and not get any leaks while pouring it into a bottle. These also had an adaptor so you can pump directly into them, and also adaptors to attach your bottle nipples so baby can drink directly from them. When we went to Las Vegas, I brought these to hold my milk as they were disposable and so we didn’t need to bring more bottles and wash more bottles.
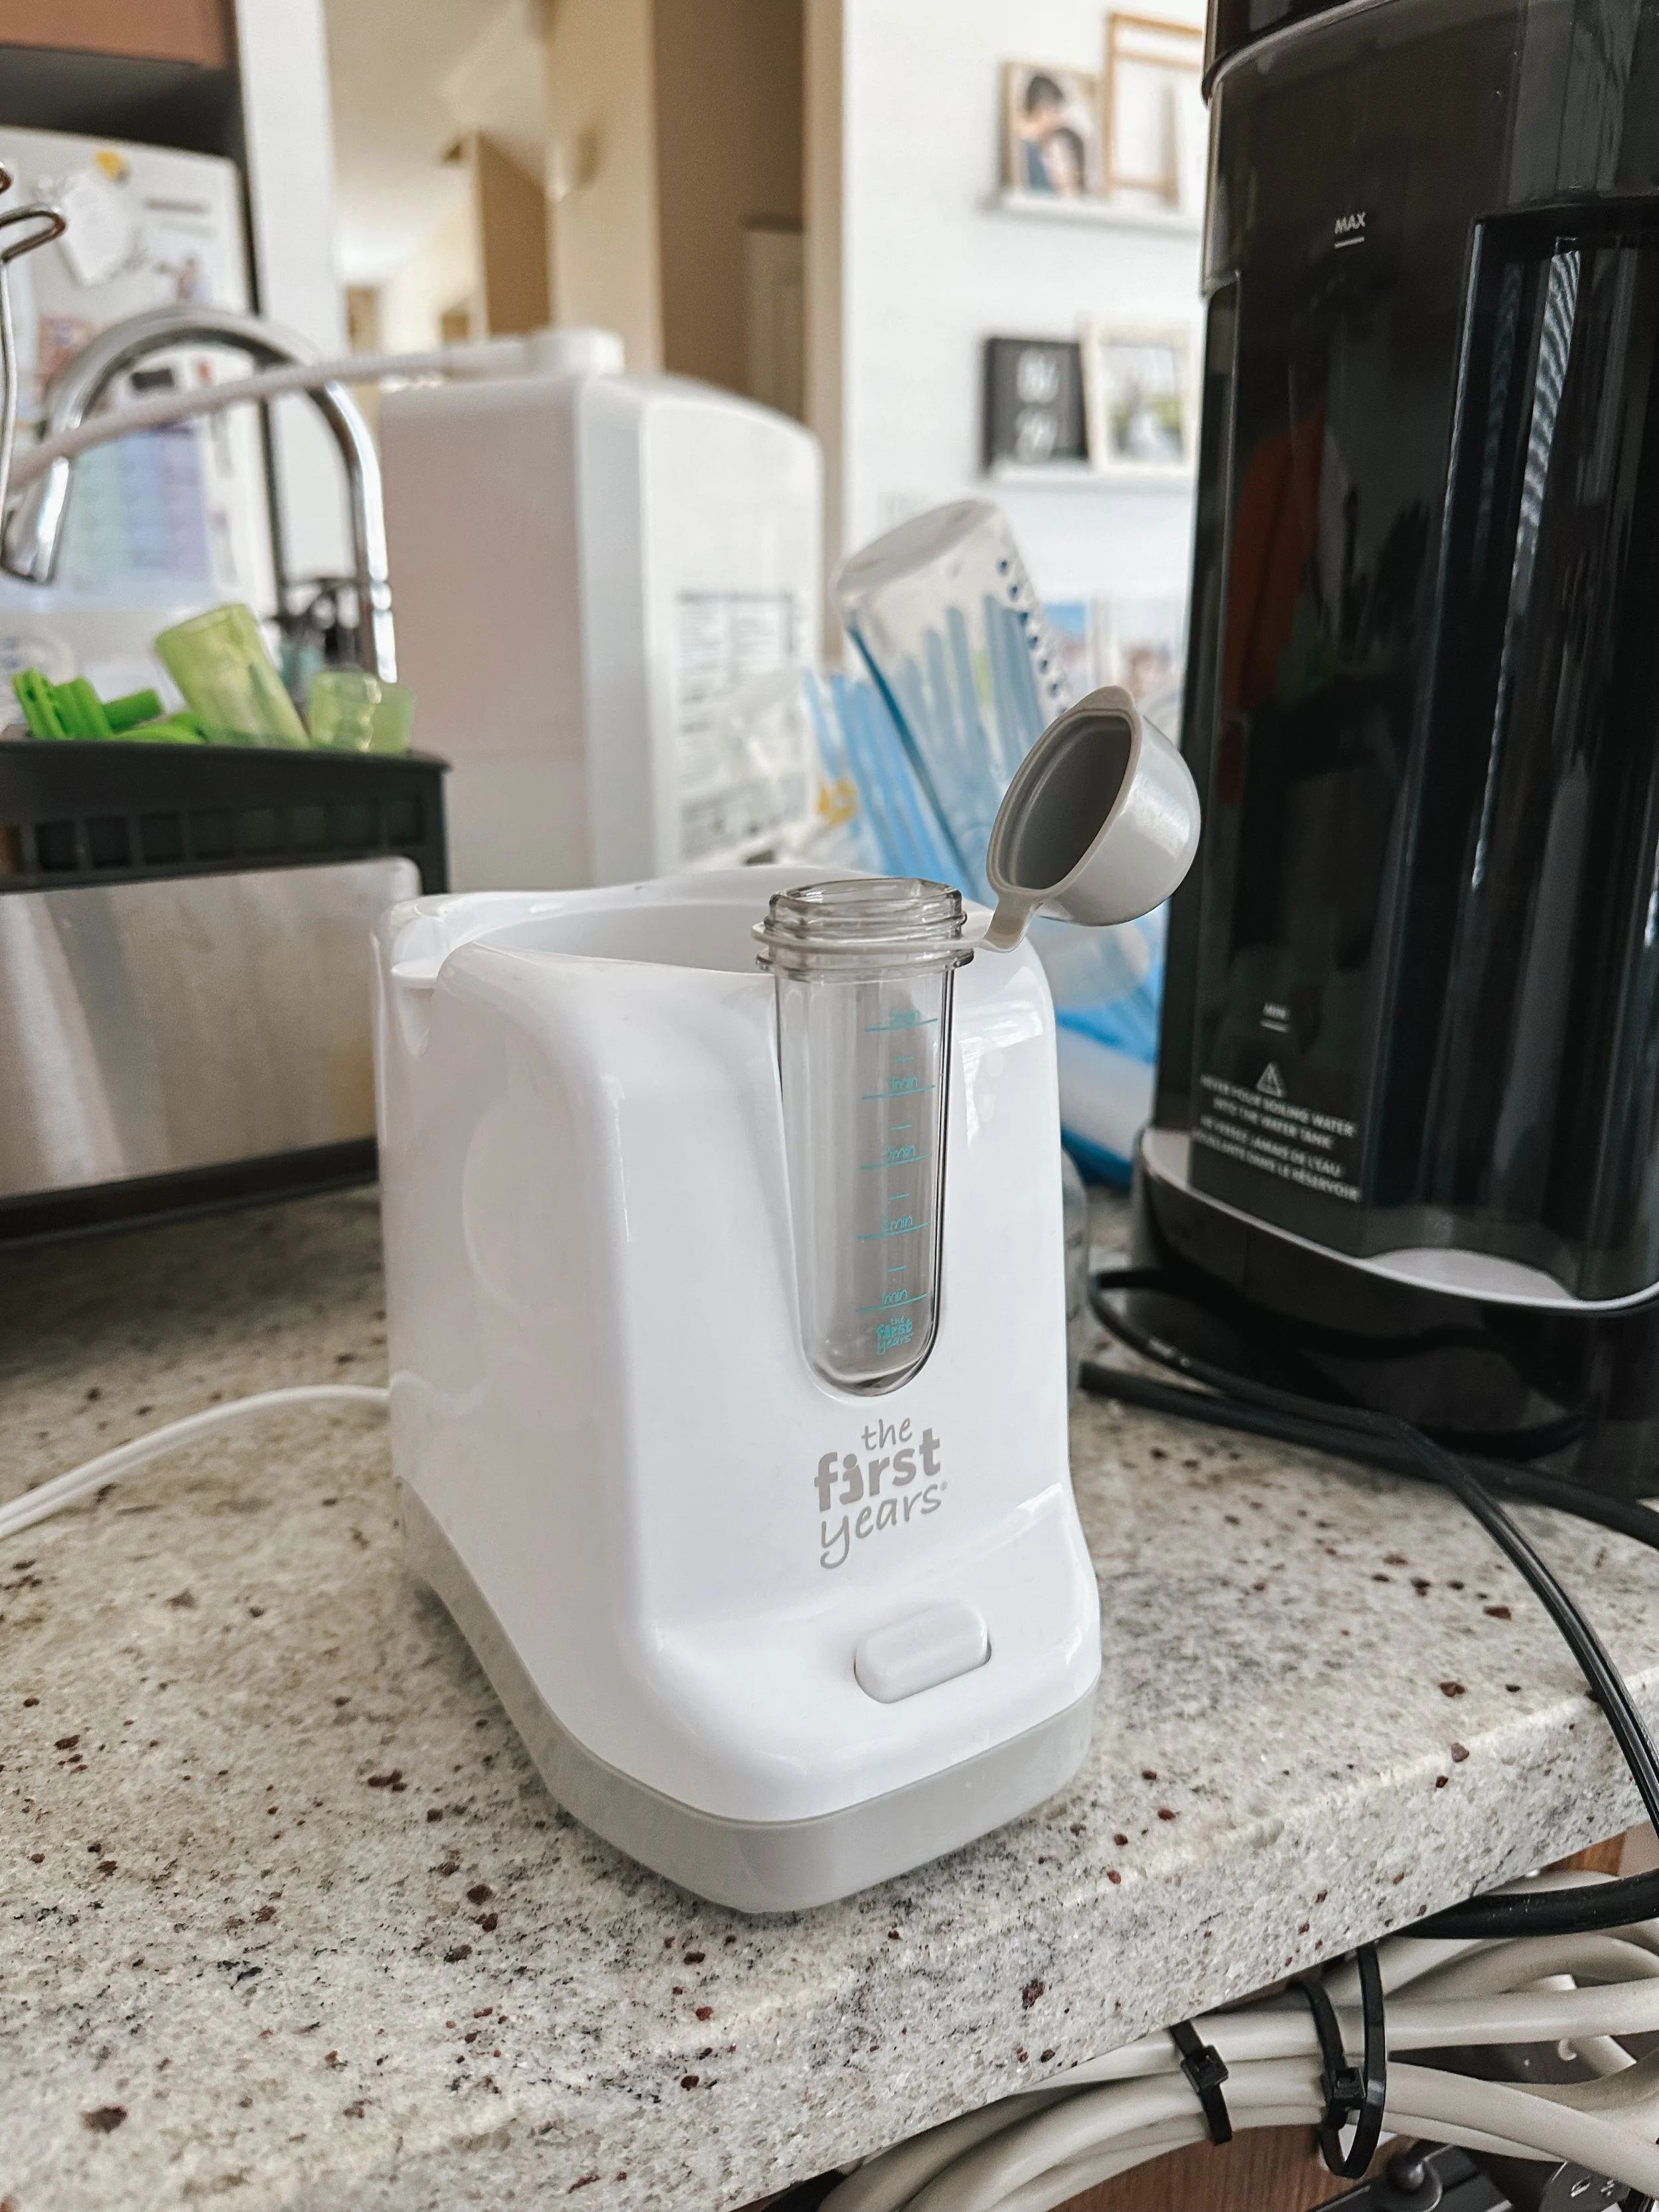
Bottle warmer - since I would put the milk in the fridge, I would need to warm it up. This simple warmer was what we used!
establishing your supply
The idea of pumping is that you want to mimic what it would be like for your baby’s feeding from the beginning. Your supply will gradually increase from your colostrum to your mature milk.
Pumping on a schedule. Exclusivepumping.com recommends at least 2 hours a day, divided by the number of pumps. This helps your body get used to the frequency and would create the milk for those specific times.
Pumping frequently at the beginning. Most people recommend pumping every 3 hours which is 8 times a day, which is usually the baseline of what a newborn would be needing, and not to drop any pumps until your supply regulates at 12 weeks. With a 4 year old and trying to survive, I just found that I couldn’t maintain this. It was affecting the dynamic of our family and we just couldn’t keep up with washing all the parts, etc. Also because at that time, I didn’t have the portable pump yet because I wasn’t sure I was going to continue. I started with every 4 hours 6 times a day, and when my supply was enough for baby, I moved to every 5 hours 5 times a day at around 7 weeks. At that time, I had my portable pump which was super helpful for the two pumps during the middle of the day, and did the wall pump for the pump before baby woke up for the day, after bedtime, and middle of the night. I shared my schedule in the previous post about my pumping journey.
Switching between let down and express modes. Babies when they nurse switch between a quick suck and an express suck, first to get your let down, and then to drink. So you’ll want to mimic that through your pumping time, usually every 5-10 minutes.
Nourishing yourself. They say that breastfeeding is cheaper but the time spent and the nourishing food intake was incredible. Especially since I went the pump route, it was not cheap if you considered all the various things I had to purchase or replace, like a portable pump and all its accessories. I was grateful to have nourishing postpartum food for the first month. After every pump/feed, I would eat something - something high-energy, nourishing foods. I loved the Aussie Bites from Costco for my snack, cause it was small and accessible and required no prep. Also cause I was ravenous. Later on after about 3 months or so I felt less hungry and would eat less, but my supply also regulated and I was making enough for baby. Prior to 3 months I had a bit of an oversupply, and I was able to freeze a bottle a day at least for baby.
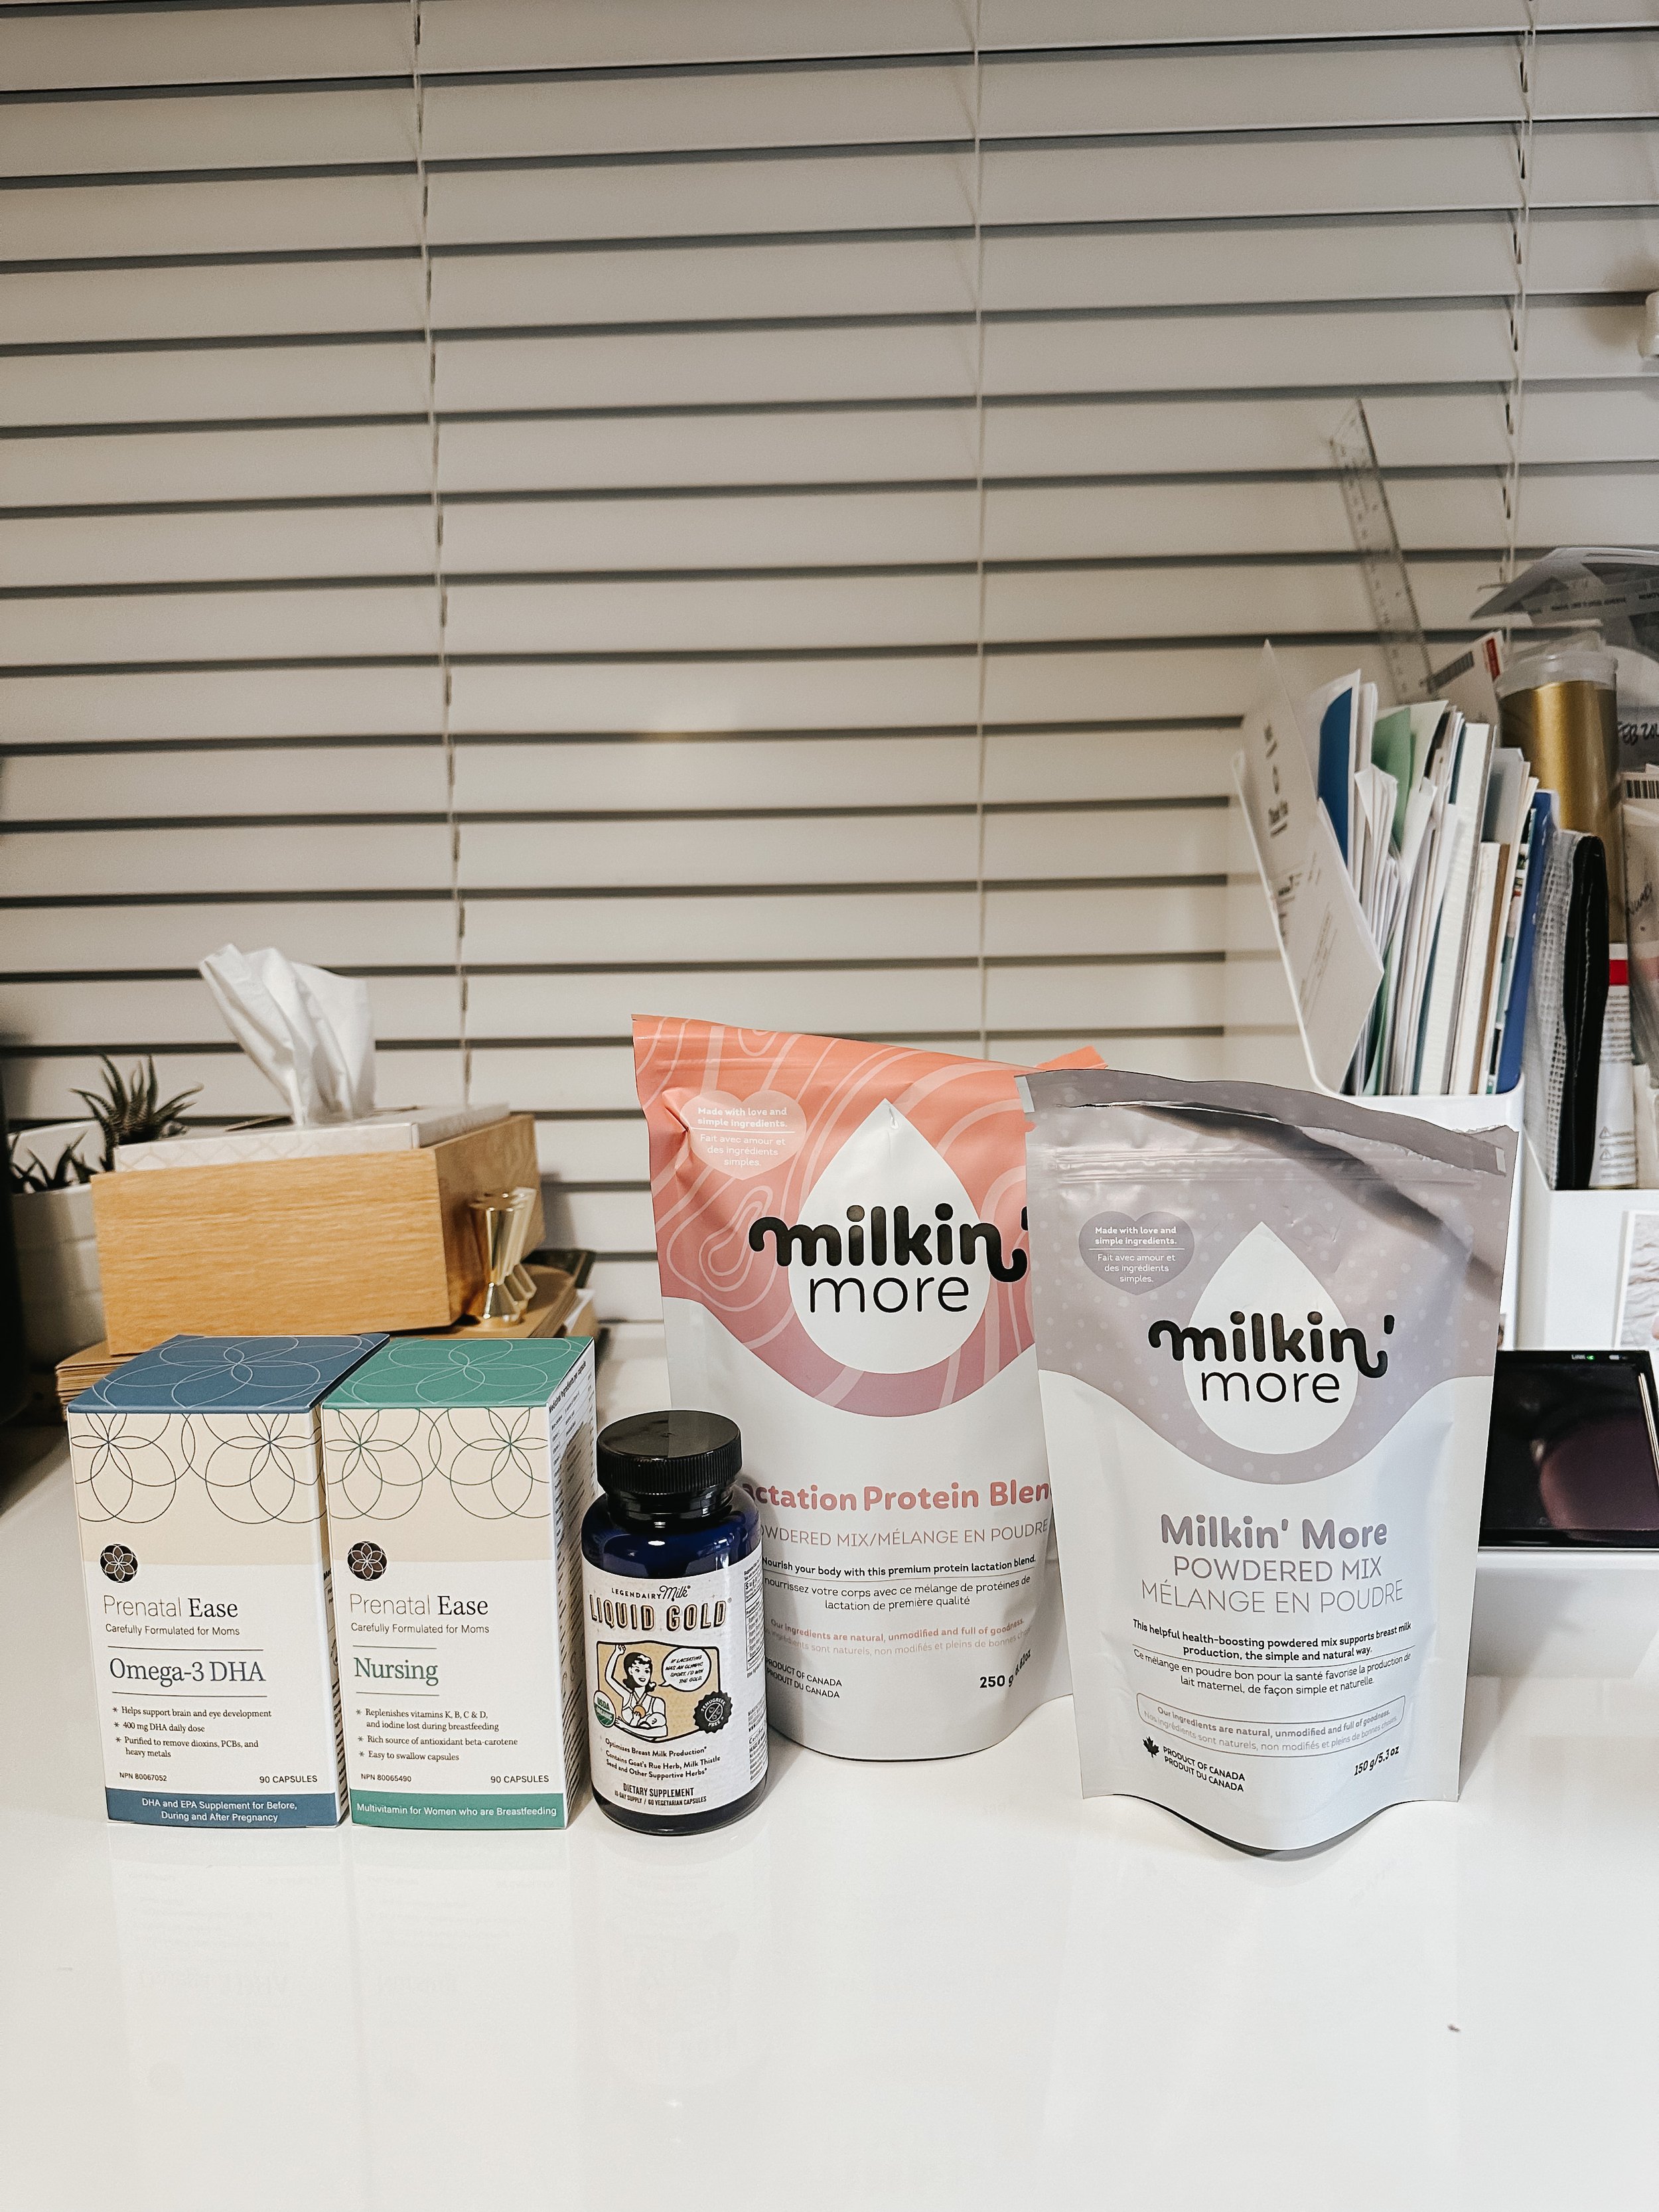
Drinking tons of liquids. Aside from eating, I would drink. My MIL also made me tons of soups - the fish papaya soup for producing more milk and chicken essence soup for my recovery. This really helped me get my mobility back and gave me energy to produce the milk. I would drink a cup of soup after every pump in the first few months. I was drinking probably a total of 3L of water/liquid a day, or more. Whenever I noticed my supply dropped, I would drink more water. It was a bit of a pain refilling my water bottle every time. When I stopped drinking all the soups, I added the Milkin More protein powder to my water every morning and also had at least one electrolyte drink a day (or coconut water).
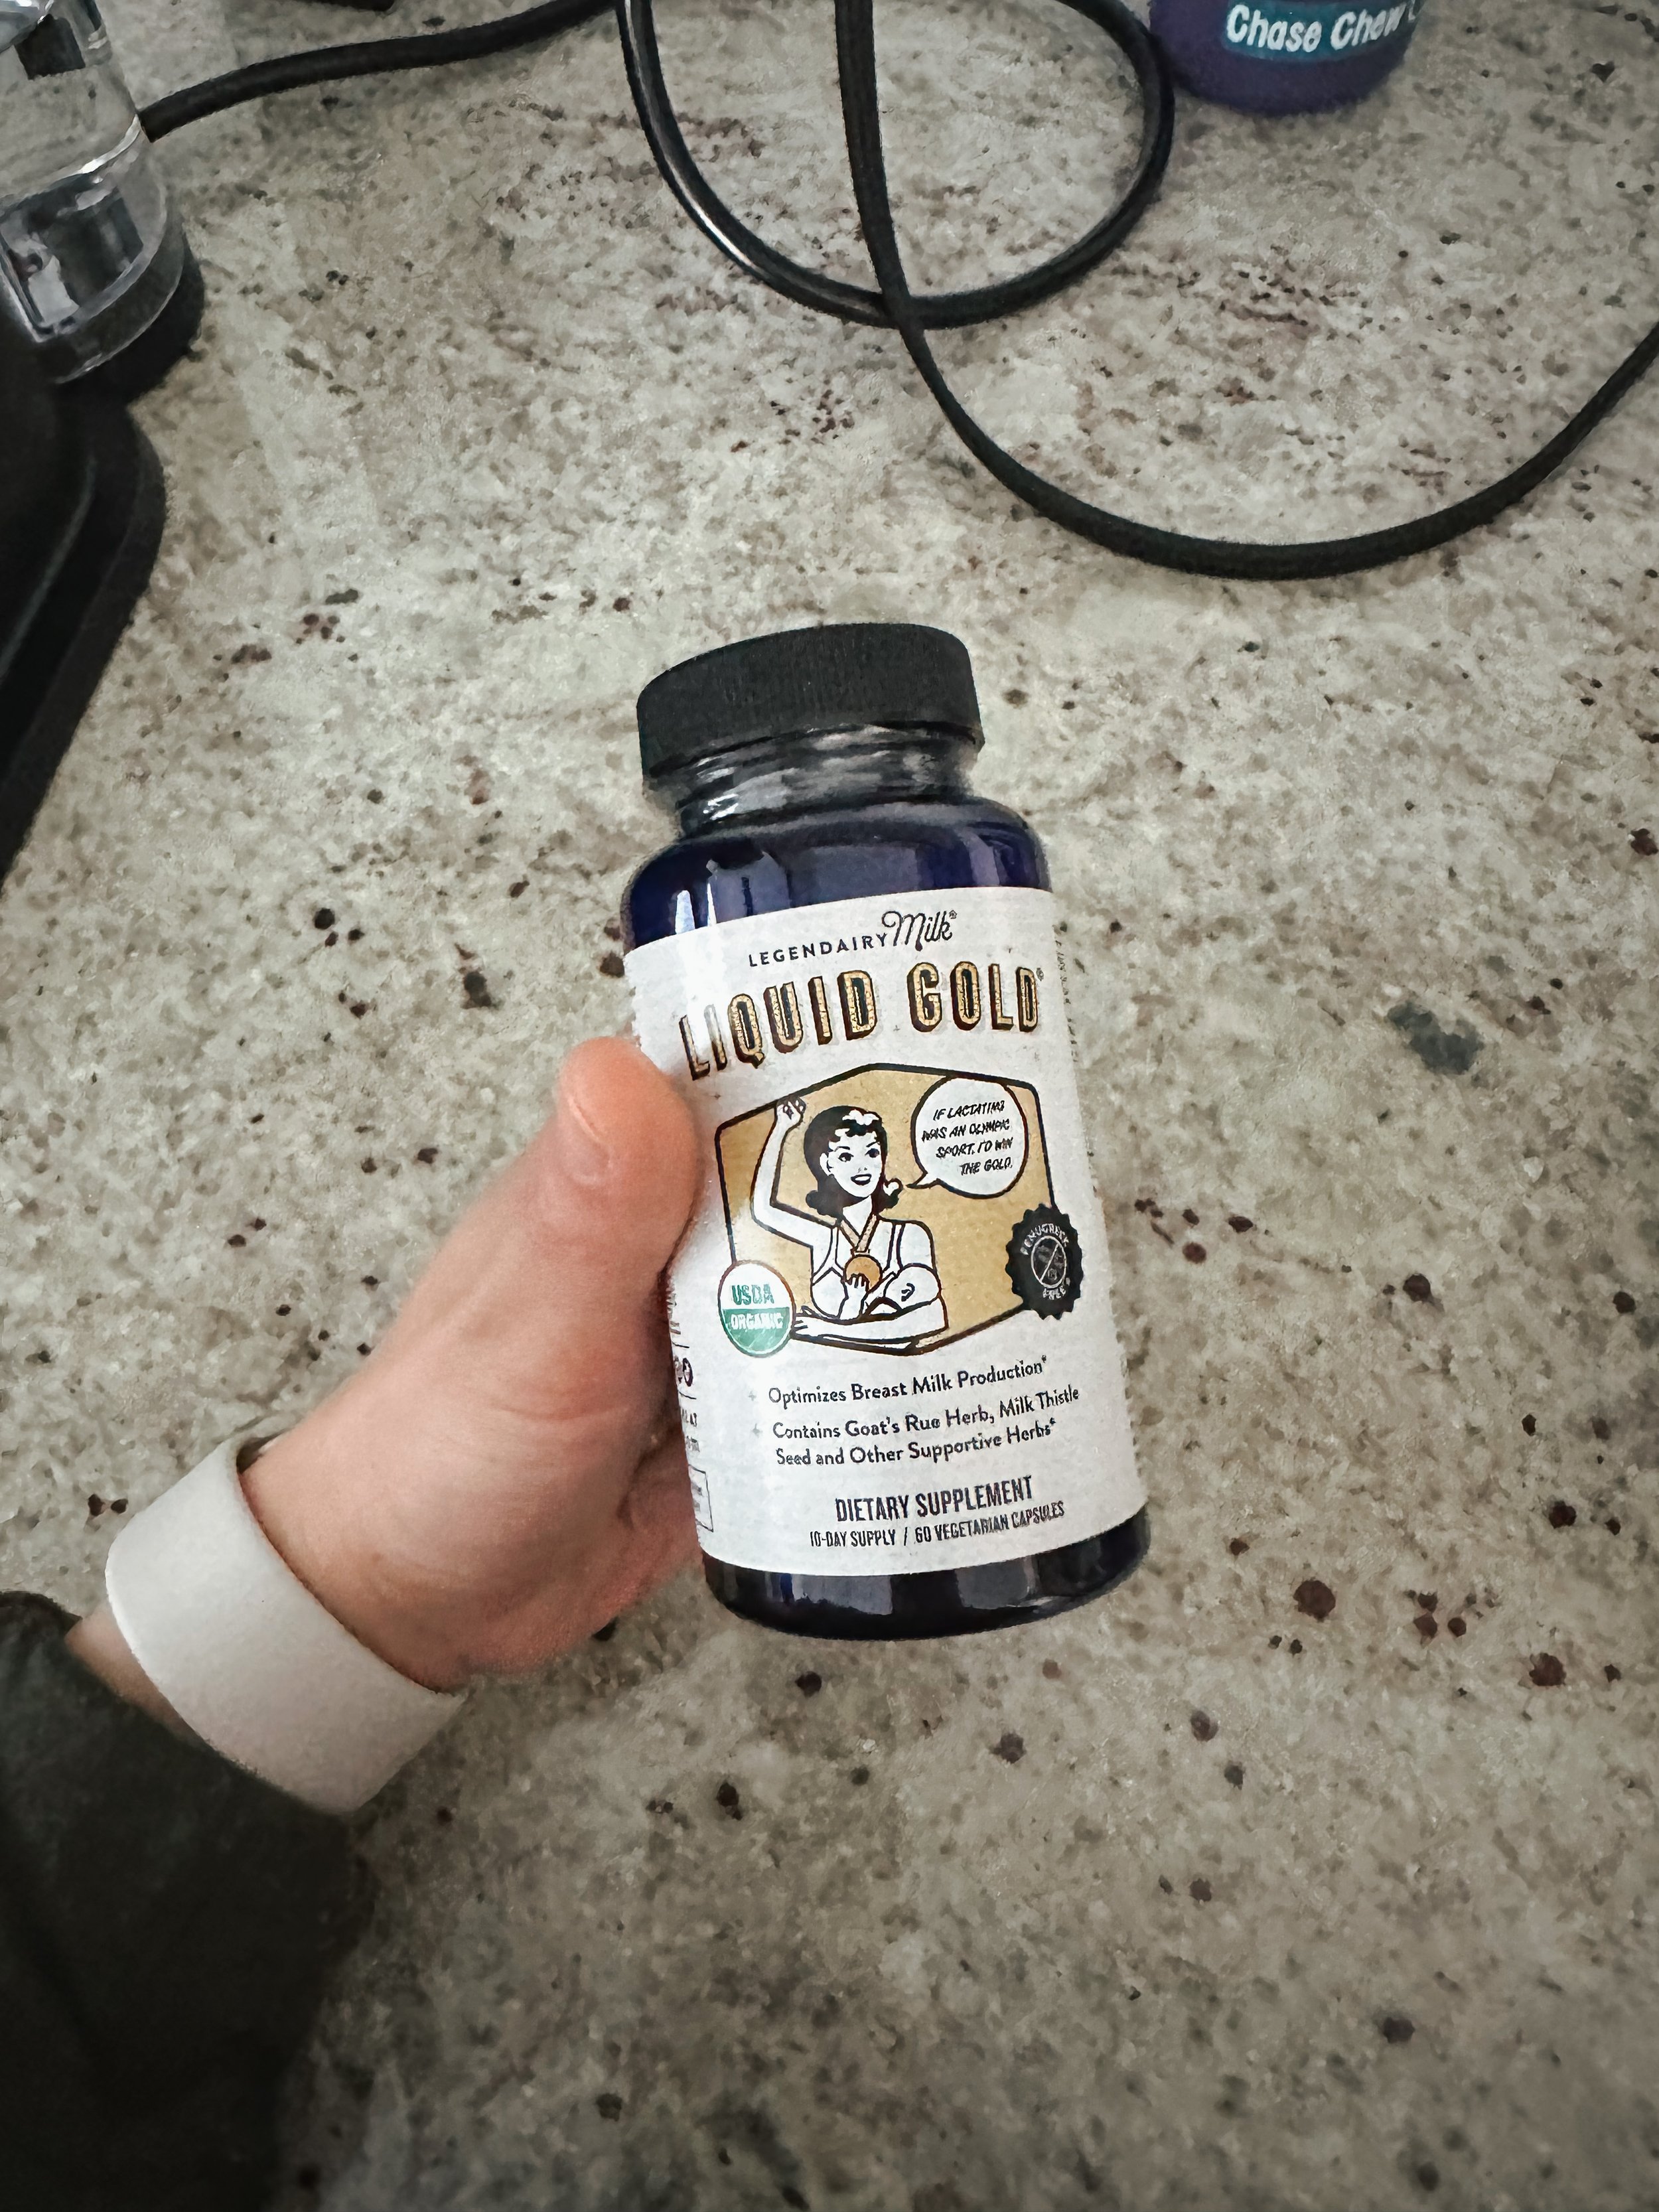
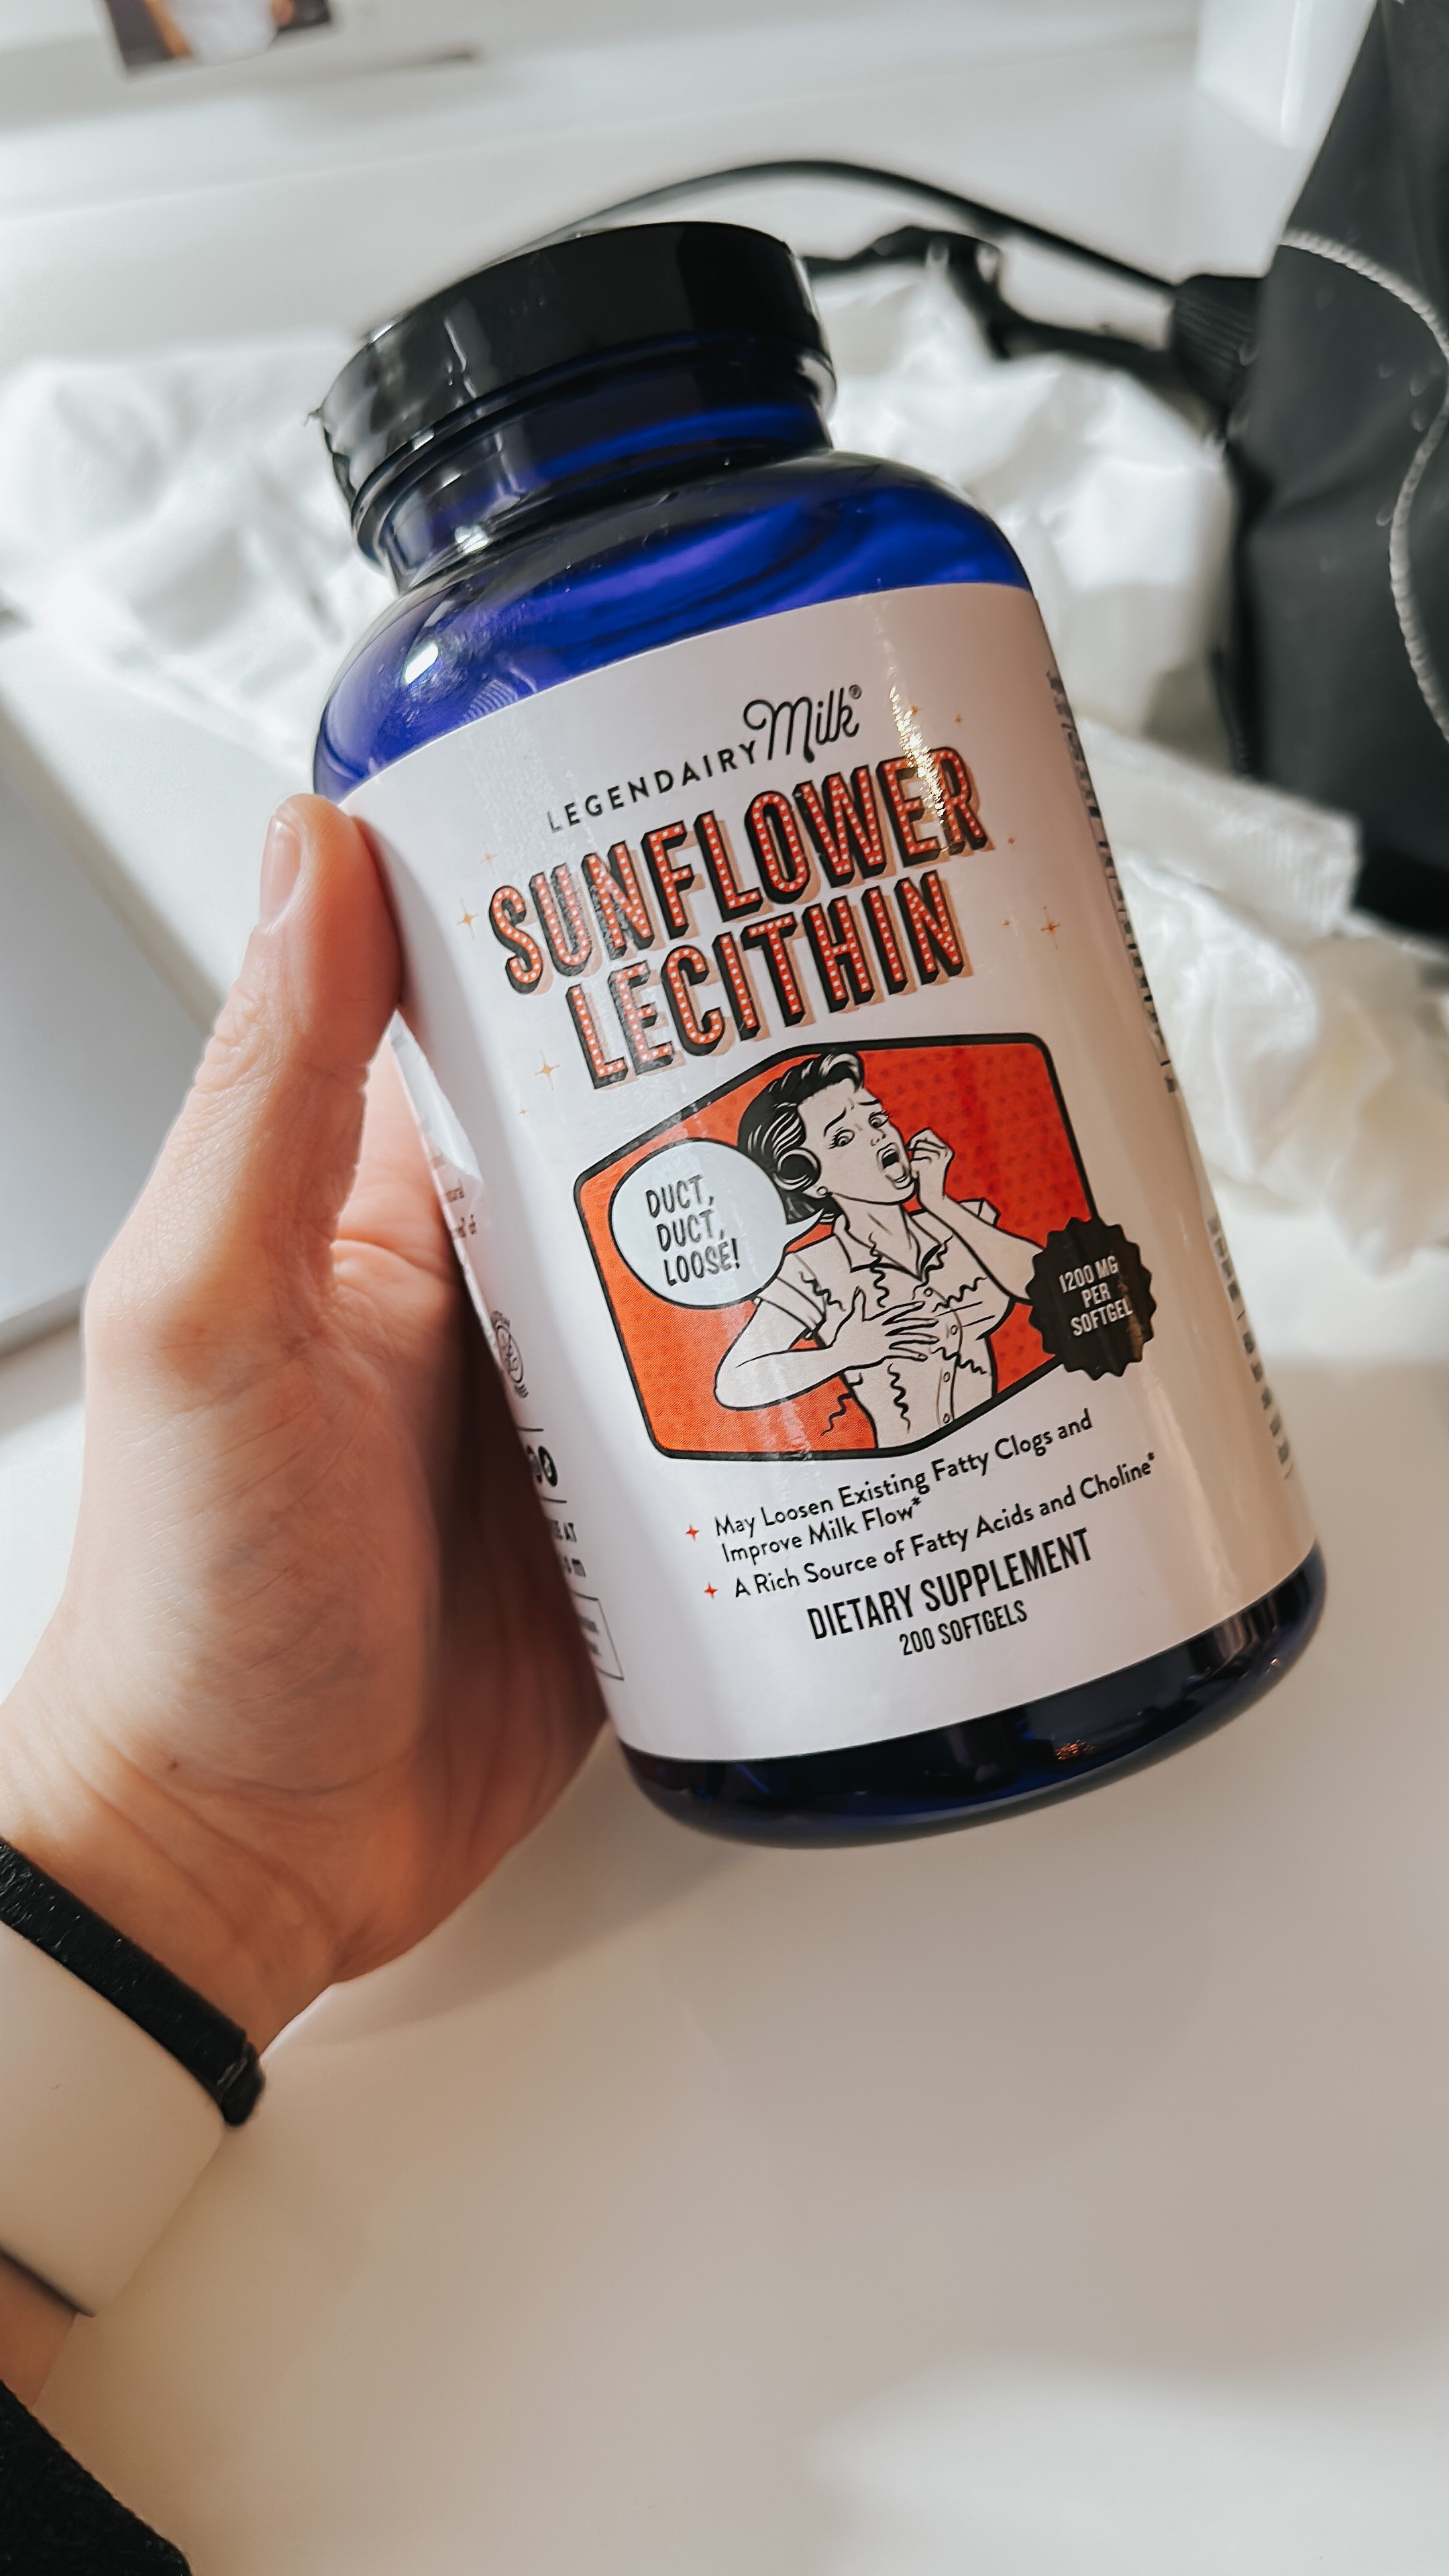
Supplements. I honestly don’t really know if the supplements helped me, but the first time I used the Legendairy Milk Liquid Gold I was engorged for a few days that I had a clog. So after that I tapered off eating the supplements and just made sure I nourished myself with food and liquid. Whenever my supply would drop, I would eat the supplements again. And whenever I had a clog, I would take the Legendairy Milk Sunflower Lecithin to help thin out my milk to clear the clog, and somehow it also increases my output a little bit.
Getting rest. I know it’s hard to rest with a newborn, but try to sleep as much as you can. Leave the washing to your hubby or whoever is willing to help.
some other tips
If you drop a pump and want to maintain your supply, you will need to increase the time for your pumps. For example, when I had 6 pumps, I was pumping for 20 mins each. When I was pumping 5 times, it was around 25-30 mins each. I do think though that by the time you get down to 3 pumps or less, this might not be the case. Your overall supply would decrease.
Even though the pump has the suction, it also helps to massage and hand-express your breasts to help the output.
After pumping, it also helps to stretch your shoulders and upper body. @getmamastrong has some good ideas.
Power-pumping is something I’ve also tried whenever my supply goes down. It involves pumping and pausing frequently in an hour, so it’s like cluster feeding. You can do this once a day, usually when you have a bit more time like after the kids bedtime.
You don’t need a pump bra to hold the pump. I used the sports nursing bra from Kindred Bravely and used this hack to hold the pumps. Now I’m hands-free! This hack really saved me from having to put on the Medela Pump Bra and that way I wore the same bra all day (and night!). And since I would occasionally nurse her directly, too, this was super useful.
Don’t use the pump bags to measure your milk, use the bottles and pour it into the bags.
clogs
I was always scared of clogs because of my friends’ horror stories, that I asked my doctor to prescribe me a round of antibiotics for mastitis just in case it ever got to that point, just because it was often hard to get a hold of my doctor and for something like this, I would need medication fairly quickly. Moms just can’t get sick! But grateful in my journey I didn’t end up getting mastitis but definitely had my fair share of clogs.
Here are a few tips
Hot compress - I used the Lansinoh Therabeads. It does get hot so make sure you use the pouch it comes with and do not overmicrowave them.
Massaging the clogs gently
Eating the Sunflower Lecithin supplement
Avoid sleeping where you are compressing your boobs. Yup… I slept straight up or just slightly side view for months… For someone that is a belly and side sleeper, this was a challenge haha.
my routine
Here is my pumping routine.
I would put the hot compress in the microwave for 1:30 (that’s the time it takes to heat it up).
While it’s in there, I would wash my hands with soap and water, then assemble my pump parts and put it on my boob.
I would apply the Nipple Balm on my nipples.
Then I would get the hot compress from the microwave and put it over my shoulders. (the hot compress step I only use when I’m doing the wall pump. When I’m out and about or busy with baby/kid I don’t bother)
I would assemble the pump and turn it on the let down mode. After 2 mins it automatically switches to express mode.
After about 5-10 mins, I would turn the express mode to let down mode again.
When I’m done I would combine the bottles and put it in the fridge, with the oldest milk in front of the line so that I would use that first. Medela came with the bottles and caps so this was useful.
I would put the parts in a bowl with the dapple bottle liquid to soak and let hubby wash it later unless it’s the middle of the night, I wash them.
Feeding routine.
I always feed when baby wakes up from her nap or when she wakes up in the morning.
I would take the milk that’s the “oldest”. Swirl it a bit.
Take off the lid, pour water in the bottle warmer. Place the bottle in the bottle warmer. It usually took 3-5 mins.
Then I would go pour the milk in the Dr. Brown’s Bottle and feed it to the baby. Jasiel usually doesn’t wake up crying so I let her wait a little bit in bed while I sort out the milk situation.
At night, it was a different story as I normally wouldn’t warm up the milk as it would take too long. Since my pump in the middle of the night was at 3AM, if she woke up earlier than 3AM, I would feed her a formula bottle as it’s quick. But if she woke up later than 3AM she would just have the bottle I pumped at 3AM, since it could sit out for 4-6 hours anyway. While I produced enough milk for her the entire day, it just gave me a lot of flexibility that if she wanted more or if I hadn’t warmed up milk, I could just offer her formula and not give myself that added pressure. Hope this has been helpful!
xoxo,